Extensions are WordPress plugins that add extra features to UpStream.
This guide to shows to how to install extensions after you have purchased them.
- Click here to purchase extensions.
- Click here to read more about extensions.
- Click here to see all the current extensions.
This guide shows how to install UpStream on a normal WordPress site. Click here for multisite instructions.
Step #1. Install the main UpStream plugin
The main UpStream plugin is free to download from WordPress.org. Please make sure you have installed this plugin into your WordPress site. Click here to see how to install UpStream.
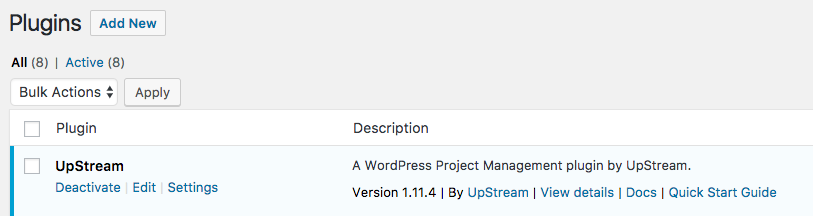
If you have installed UpStream, you will see it in the “Plugins” area of your WordPress site:
Step #2. Download the extensions
- Login to your account here at UpStreamPlugin.com. Use the “Login” link in the main menu:
- Click on the “Your Downloads” link under “Account”.
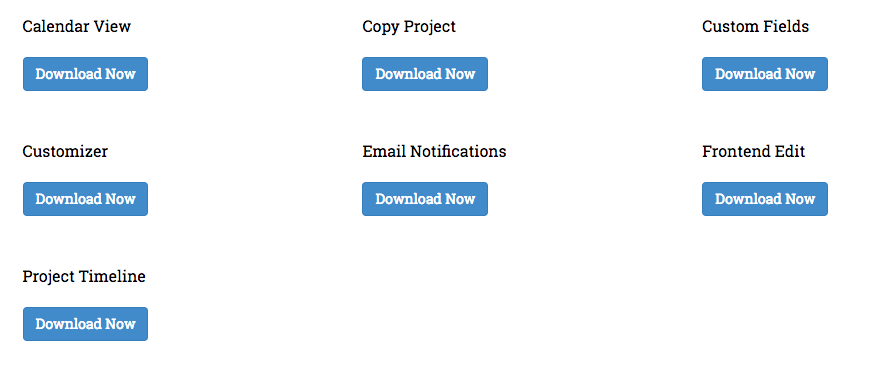
- You will see a large blue buttons for each extension. You do not need to install every extension.
- Click on this button to download the extensions you want:
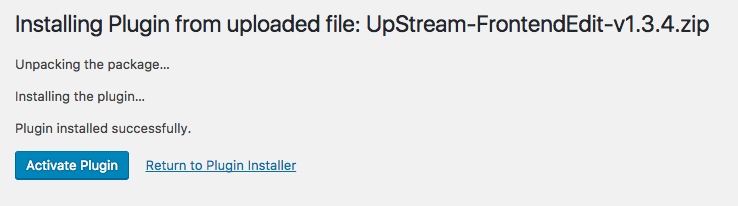
- A .zip file will download to your computer. This file will have a name similar to “UpStream-FrontendEdit-v1.3.4.zip”. Don’t unzip this file.
Step #3. Install the Extension
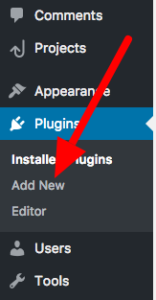
- Go to your WordPress site’s admin area. Go to “Plugins”, then “Add New”:
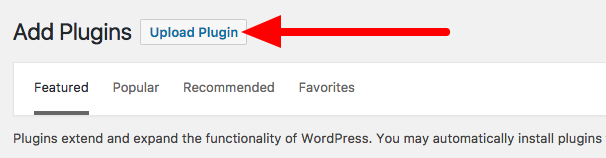
- Click “Upload Plugin”:
- Click “Choose File”:
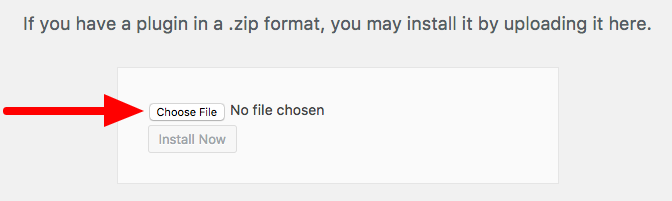
- Select the .zip file that is on your computer.
- Click “Install Now”.
- You’ll see a message telling you that the install was successful.
- Click “Activate Plugin”:
Step #4. Add the License Key
After you have installed the extension, we recommend adding your license key so you can easily get access to all updates and bug fixes.