A Few Cool Things You Can Do With UpStream
UpStream is designed to be a professional-level project management solution, so we have developed dozens of features that the top end solutions have. Some of those features aren’t well known, so we have decided to create a top 10 list of cool features you probably didn’t know UpStream had.
#10 Make projects public
Want everyone to be able to see what you’re working on? You can do that easily. Using the Advanced Permissions addon, you can make certain projects publicly viewable.
To set up a project to public viewing, install the Advanced Permissions addon, (if you have purchased it, you can download it from your UpStream account) and then activate it.
Once you have the addon activated, go to UpStream -> Advanced Permissions in your WordPress admin dashboard.
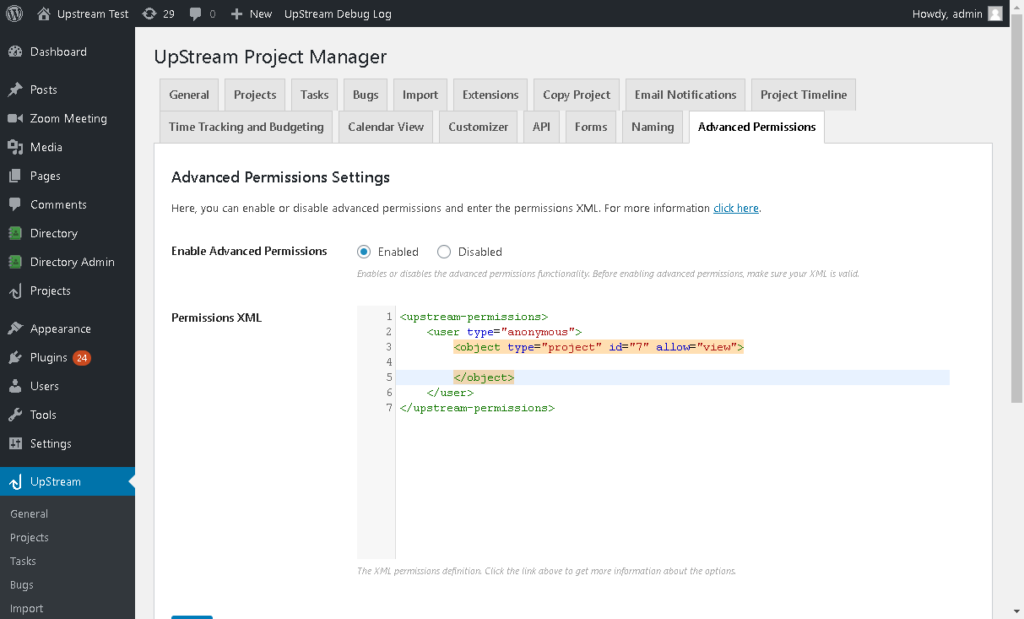
In the Permissions XML box, you can enter permissions rules. There is a complete explanation of how to set up any type of permissions here. To make a project publicly viewable, you can use the user type=”anonymous” rule.
For example, to make a project with ID 7 publicly viewable, you can use the code below
<upstream-permissions>
   <object type="project" id="7" allow="view"></object>
</upstream-permissions>
Finally, select enable and click save to enable the rules.
There are a few notes to remember with Advanced Permissions:
- When you enable Advanced Permissions, you disable all of the standard permissions (except admin and UpStream Manager access). Therefore, you will want to make sure you add any other necessary rules before enabling.
- You can only allow public viewing, not editing
- You can use other predicates for the rule as well, such as assigned-to
#9 You can create or edit projects from forms
If you use WPForms, Ninja Forms, or Gravity Forms, you can actually connect them to UpStream, so that form submitters can create or edit projects/tasks/milstones/bugs.
By using the UpStream Forms addon, you can link forms in your favorite forms tool to UpStream and you can set up rules, so form fields are mapped to project fields.
Check out these user guides for more information:
- Using UpStream Forms with WPForms
- Using UpStream Forms with Gravity Forms
- Using UpStream Forms with Ninja Forms
#8 You can change almost any label easily
Want to change a label in UpStream? You can do that quickly and easily with the Naming module. The naming module lets you change nearly any text label in UpStream to something else.
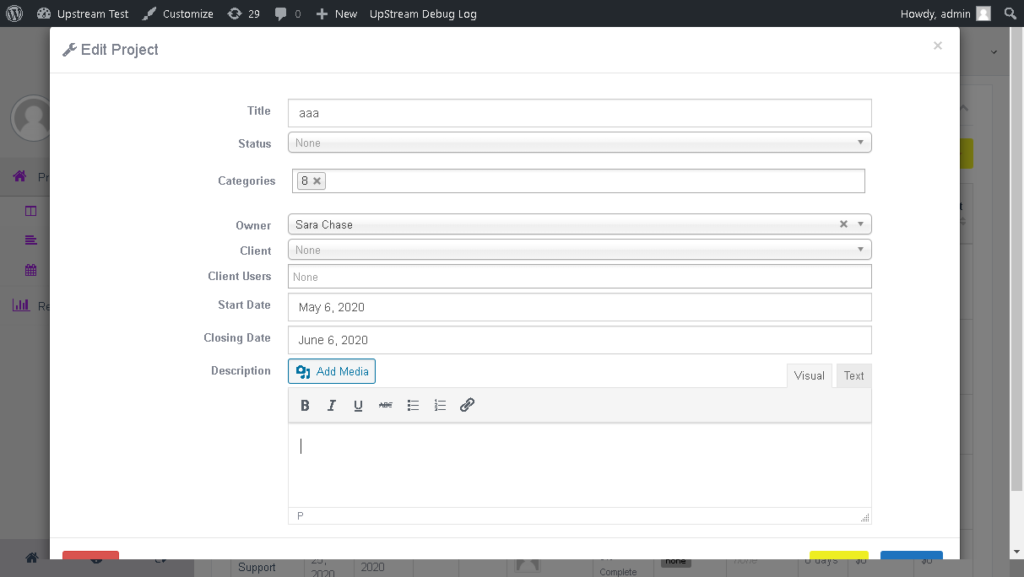
For example, you may want to change the phrase End Date everywhere to “Closing Date.” Then, your Edit Project page will look like this:
All you need to do is install and activate the Naming addon, and then go to UpStream -> Naming. Select End Date from the first dropdown, and then enter the text you want to use instead right below:
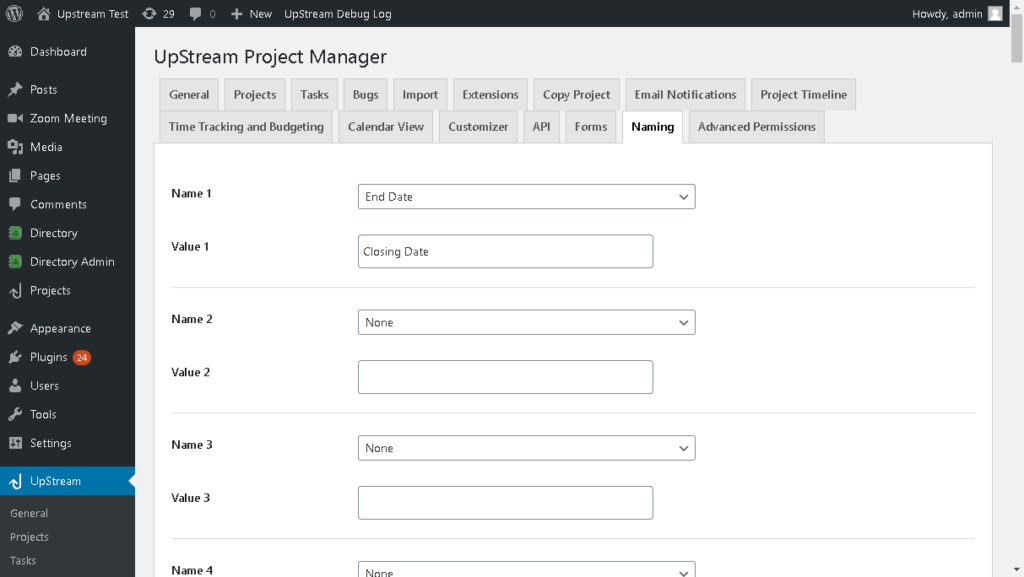
You can use the naming addon to replace up to 50 different labels.
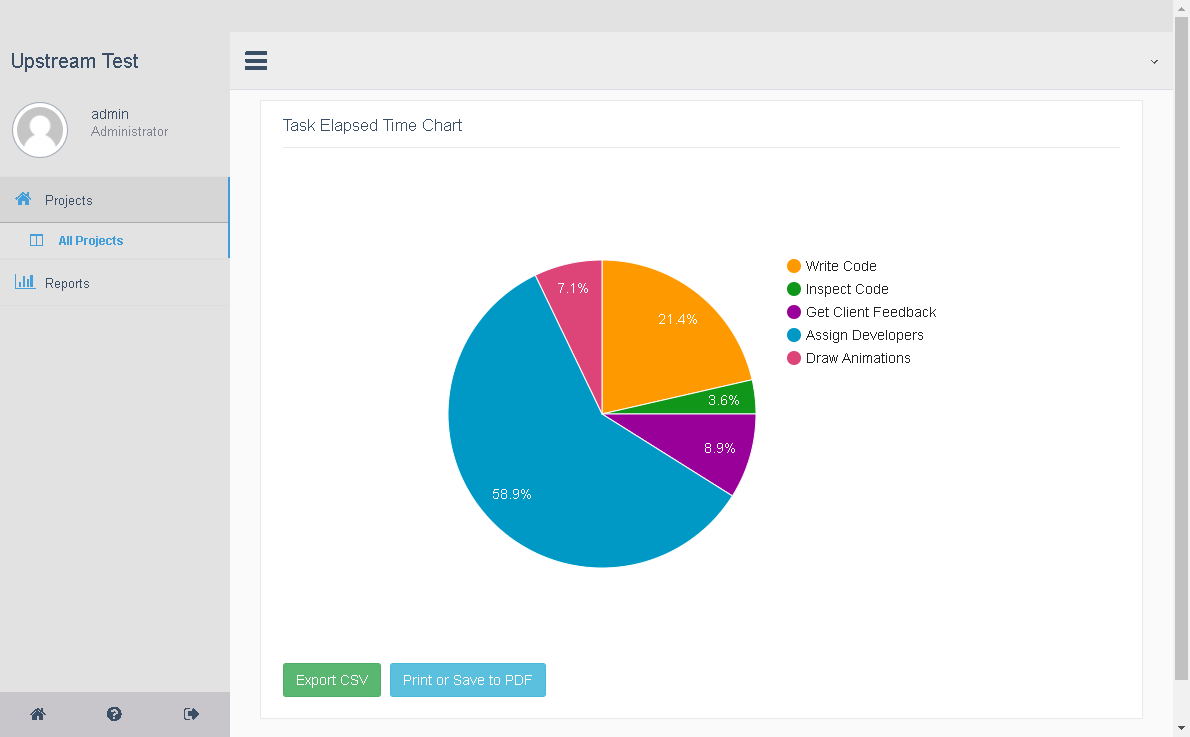
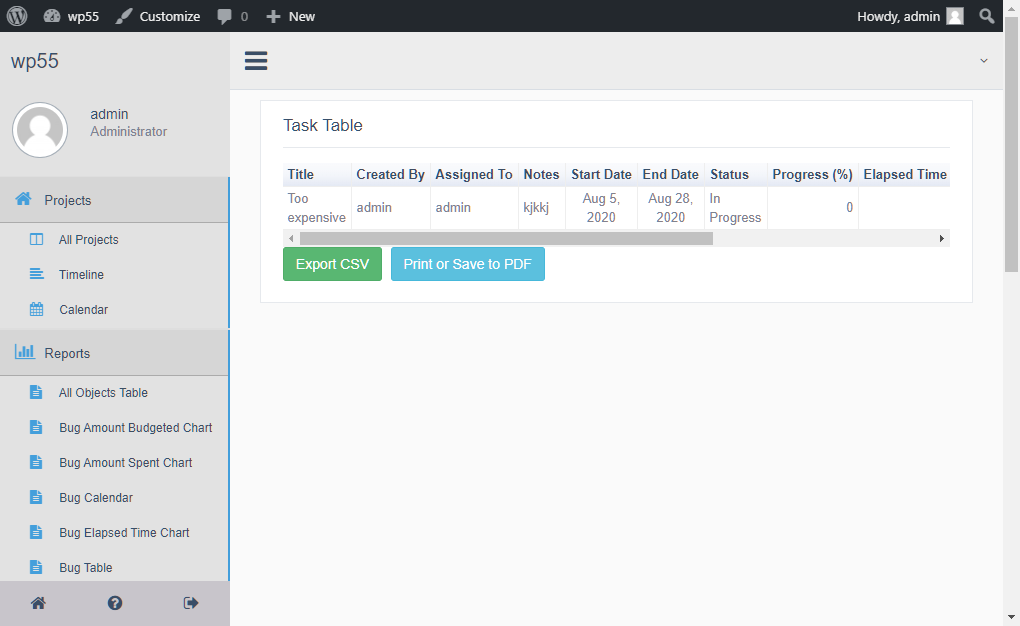
#7 You can search tasks that have taken too long or spent too much
Using UpStream Reports and the UpStream Time and Budget Tracking module, you can easily run a report of any projects that have taken too much time — or spent too much.
Just choose a task report in the Reports section, and scroll down to the Elapsed Time or Amount Spent sections. You can then enter a minimum number, and find all tasks that are above that number.
Learn more about the different reports offered here.
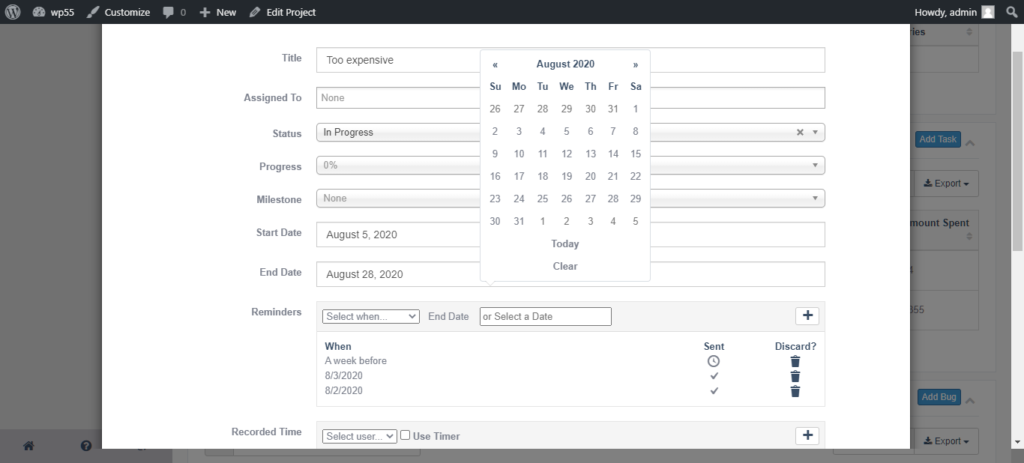
#6 You can send notifications on specific dates
Beyond just the normal notification options (a week before, a day before, etc.), you can choose to send notifications on specific dates.
If you want to do this, just go into the item you want to edit, and then scroll down to Reminders. In the box that is marked Select a Date, you can enter a date, or use the date picker to choose a date.
#5 There’s an API
Yes, that’s right: UpStream finally has an API that is integrated with WordPress’ REST API. That means you can create or edit projects, tasks, clients, milestones, files, bugs, and more programmatically.
The API provides access to most fields in UpStream, as well as custom fields and other data.
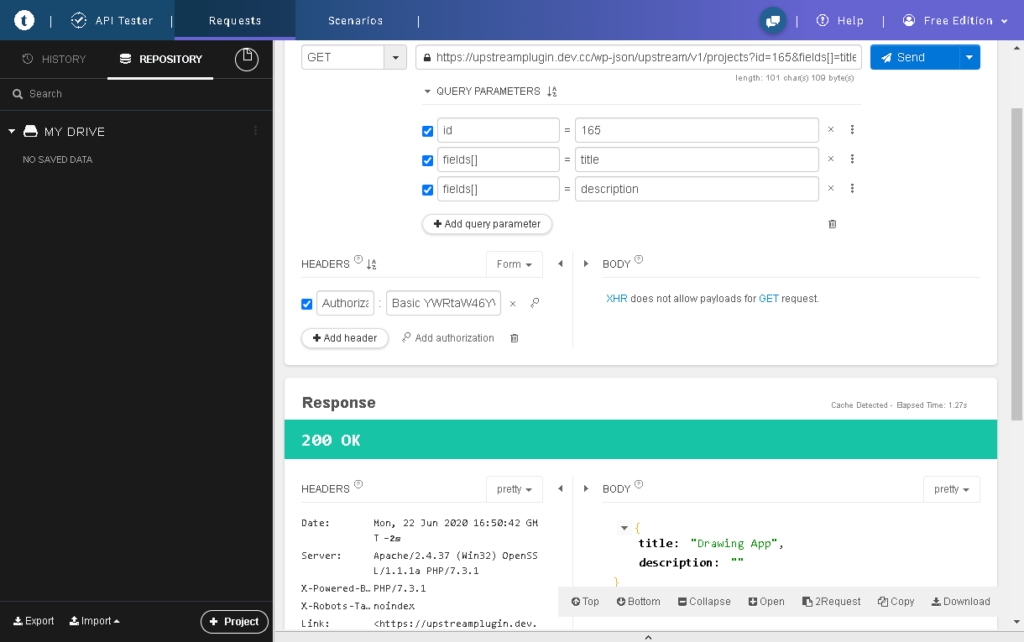
You can see all of the information on using the API here.
#4 You have multiple file management options
By default UpStream uses WordPress’ own file management system. This works great for a lot of users.
But for those users who want extra security or privacy, UpStream has its own file management system built in.
Before getting started, please note that this must be done before adding any files to your UpStream installation. You may lost files if you change it after you have already attached files in UpStream.
To set up UpStream’s own file management solution, you can go to your UpStream -> General settings area. Under File Upload Manager, select Use UpStream Secure File Uploads. Then, in the following field, enter the local path of a writeable location on your server.
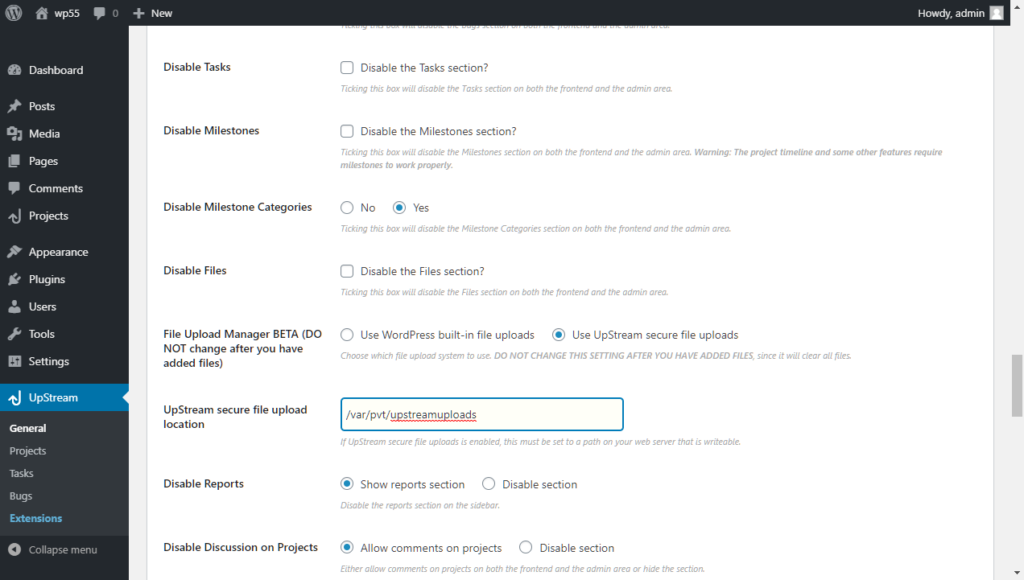
Once you have done this, your UpStream files will be stored outside of the web root, and be served by UpStream. This ensures that your files are kept privately and can only be downloaded by users with appropriate access rights.
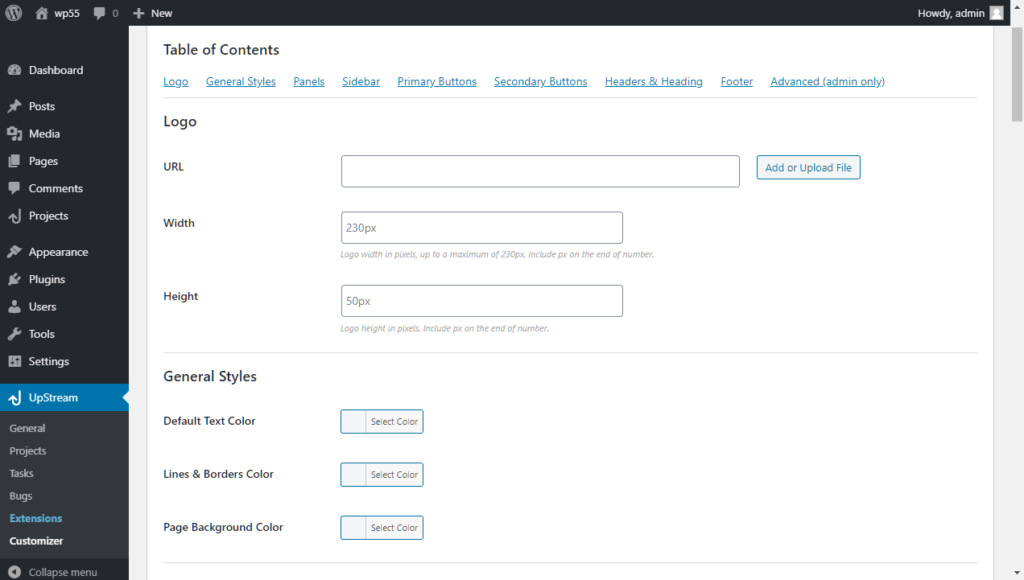
#3 You can customize the UpStream front end to look like your website
With the UpStream customizer, you can customize the front end of UpStream to look like your website.
You can place your logo, change CSS, set colors, and much more using our customizer interface. You can set backgrounds, foregrounds, headers, and menu colors.
Additionally, administrators can add Javascript or CSS to the page, essentially offering unlimited customization.
#2 You can also customize the reminder and status emails sent by UpStream
Want your notifications and status emails to look like your other emails? You can do that using the UpStream Email Notifications addon.
For each significant email type, you can set a subject, as well as an HTML pre- and post- section. There are special codes that you can enter to add in information from your project.
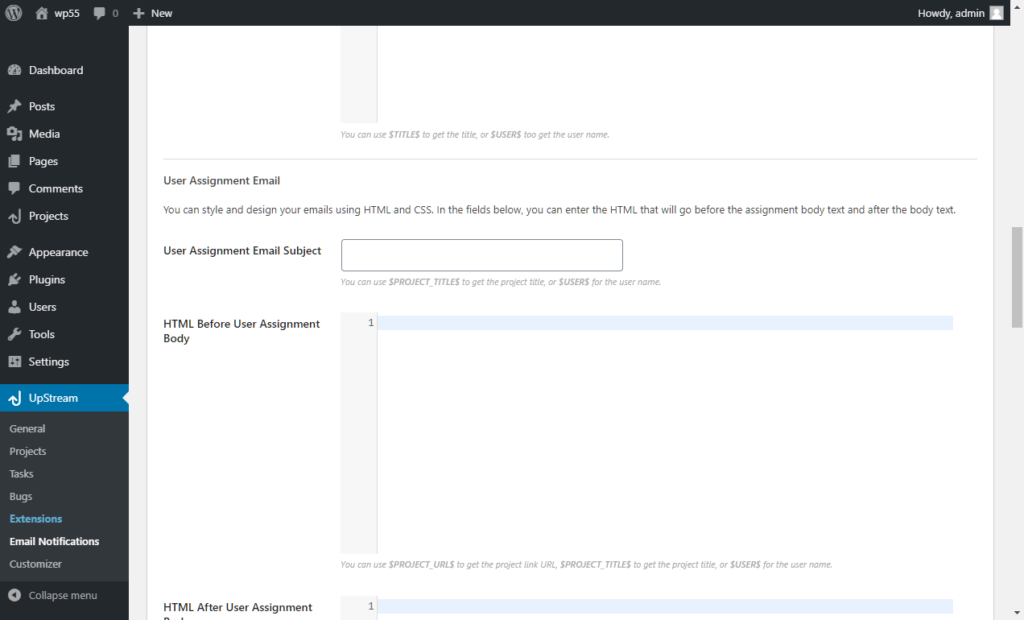
You can read a lot more on customizing your emails here.
#1 You can set field-level permissions on any field on UpStream
One of the many things that sets UpStream apart from other tools is that you can set permissions on any field, so that some fields can be editable, some can be read-only, and some can be hidden — depending on the viewer.
Using the Advanced Permissions module, you have complete control over who sees what information in your project. Want to allow certain roles to only change status and end dates? You can do that. Want to allow a reviewer role to only see certain information? You can do that too.
You can learn all about what you can do with Advanced Permissions here.