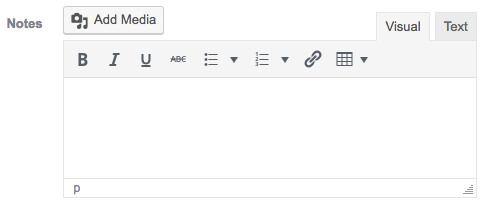
Because UpStream has some small text areas, we use a minimal version of the WordPress editor toolbar.
In this guide, we’ll show you how to customize the editor toolbar and add more buttons. This guide shows you how to add a “Table” button to the toolbar.
- Install and enable the TinyMCE Advanced plugin
- Go to TinyMCE Advanced settings page, and disable the “Enable the editor menu” setting.
Now we will update the UpStream code:
- Go to the file /upstream/includes/up-general-functions.php, and replace the line 750 with the following code:
$tinyMCE['buttons'] = 'strong,em,link,del,ul,ol,li,close,table';
- In the same file, replace the line 759 with:
$tinyMCE['toolbar1'] = 'bold,italic,underline,strikethrough,bullist,numlist,link,table';
- Also in the same file, replace the line 784 with:
'wpview', 'table'
- Go to /upstream/includes/admin/up-enqueues.php and add the following code to the bottom of the file:
function upstream_load_tinymce_table_plugin() {
echo '<script src="' . plugins_url('tinymce-advanced') . '/mce/table/plugin.min.js"></script>';
}
add_action('after_wp_tiny_mce', 'upstream_load_tinymce_table_plugin');
- And that’s it! Now the Table button is available both on frontend and wp-admin editors

Please note: these changes will need to be re-applied after UpStream updates. We’re working on a more elegant solution for the future.
